 Changing the .NET Core version in your web application within the same Target Framework is fairly straightforward, and this article will show you how.

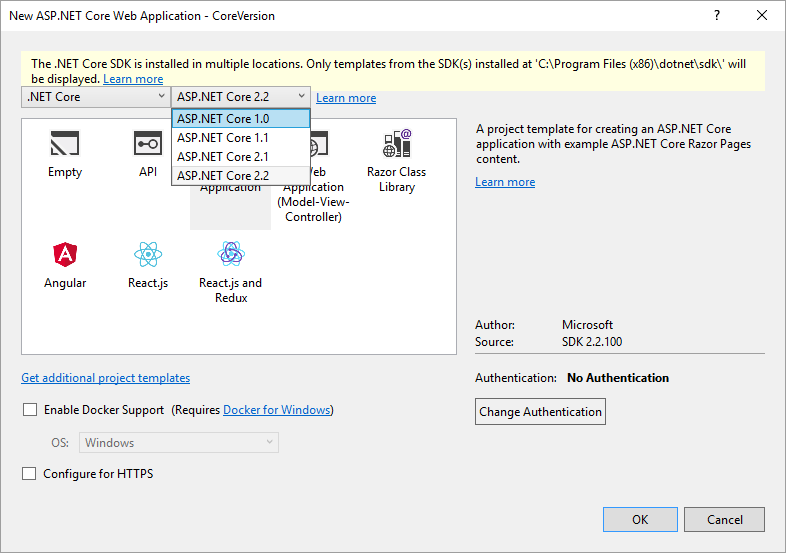
Create a new ASP.NET Core web application by going to File -> New -> Project… Select ASP.NET Core Web Application as your new project. In the New window, select the .NET Core Target Framework in the drop down list.
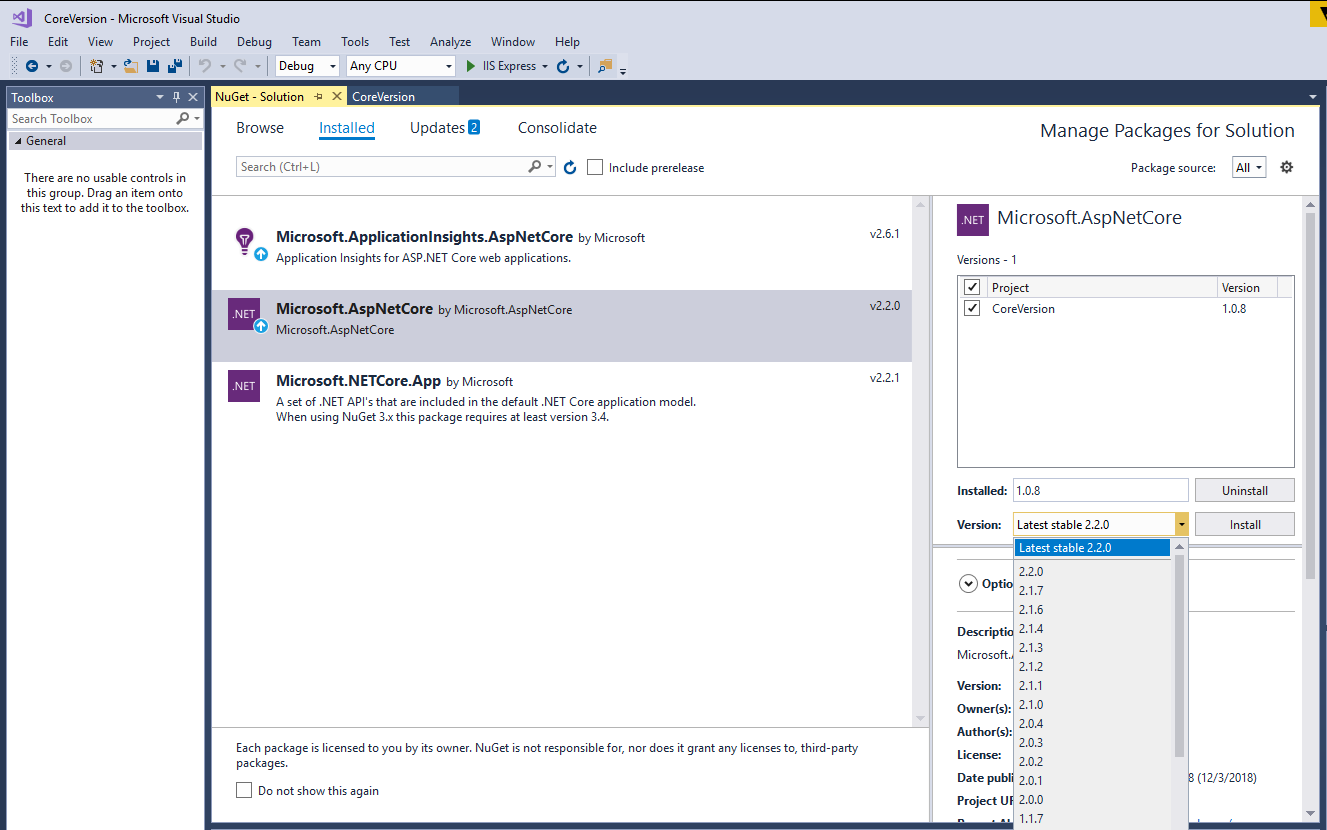
Now go to Tools -> NuGet Package Manager -> Manage Nuget Packages for Solution…
Under the Installed tab, click on Microsoft.AspNetCore. On your right, you’ll notice a Version drop down box. Select the version that matches your Target Framework, check the checkbox next to the Project name and then click on the Install button.
Note that you can use this to upgrade/downgrade the patch version (3rd number) of the same Target Framework without too much of an issue, but it is not recommended that you use this to upgrade/downgrade the major/minor (1st/2nd number) versions, although it will work in some instances. For example, you can switch it from 1.0 to 1.1 and vice versa but not from version 1.0 to 2.0 as it requires extra tweaking. If you run into any issues with any version change, an error will be displayed to the Error List window. You will need to resolve the errors to complete the change.
Visit Everleap.com to learn more about ASP.NET Cloud Hosting solution
No responses yet