![]() nopCommerce is a great open-source e-commerce shopping cart platform available in the ASP.NET Framework. It is relatively easy to master and packs a ton of features. It has everything you need to get started selling physical and digital goods over the Internet. nopCommerce is also fully customizable. In other words, if you want to change anything about it, nopCommerce allows you to do so in one way or another.
nopCommerce is a great open-source e-commerce shopping cart platform available in the ASP.NET Framework. It is relatively easy to master and packs a ton of features. It has everything you need to get started selling physical and digital goods over the Internet. nopCommerce is also fully customizable. In other words, if you want to change anything about it, nopCommerce allows you to do so in one way or another.
nopCommerce offers a responsive and mobile-friendly modern theme out of the box that has been designed to make any online store site look professional. By default, nopCommerce offers two product templates:
But you may want to customize the default theme and make changes to a product template. In this article, I will cover all the steps involved in adding a new custom product template to your nopCommerce store site.
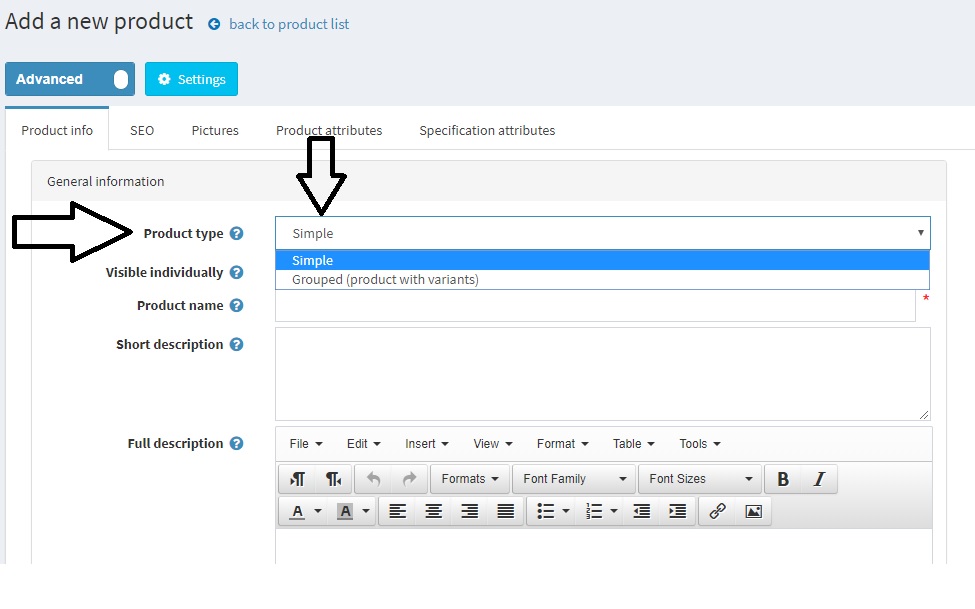
Currently, when you add a new product on your nopCommerce site, you get two options to define the product type (which means two types of product templates):
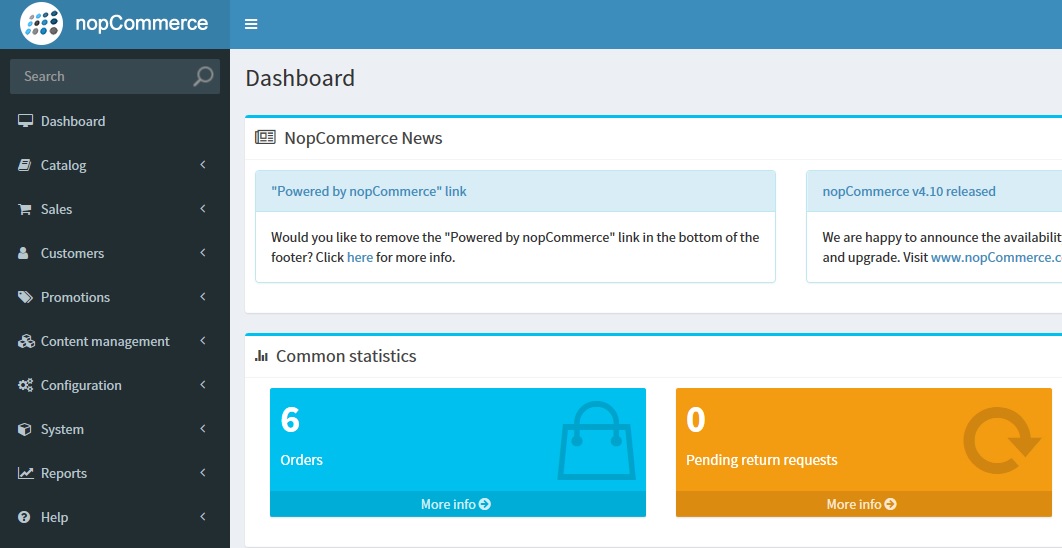
To add a new product template item, login to your nopCommerce store site as an administrator.
Go to: Administration -> Dashboard
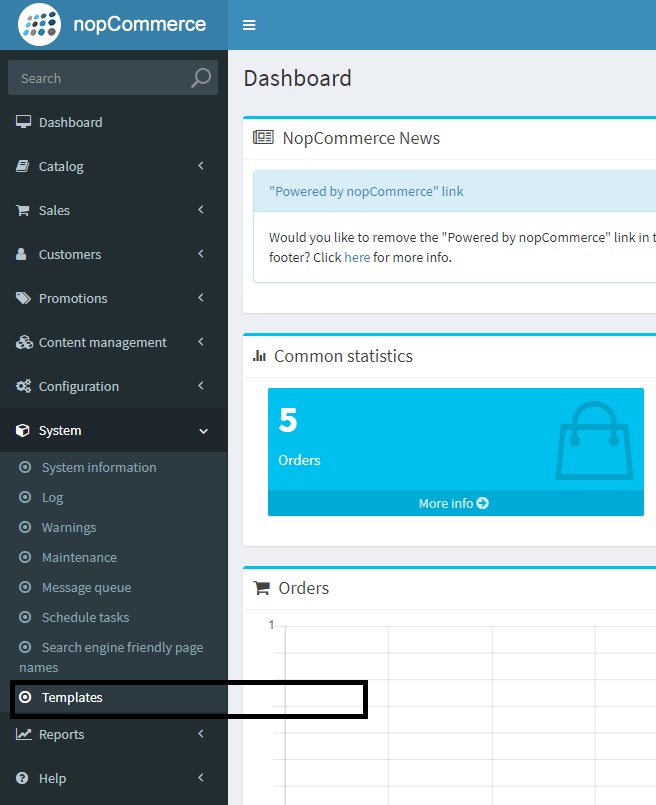
Navigate to: System -> Templates
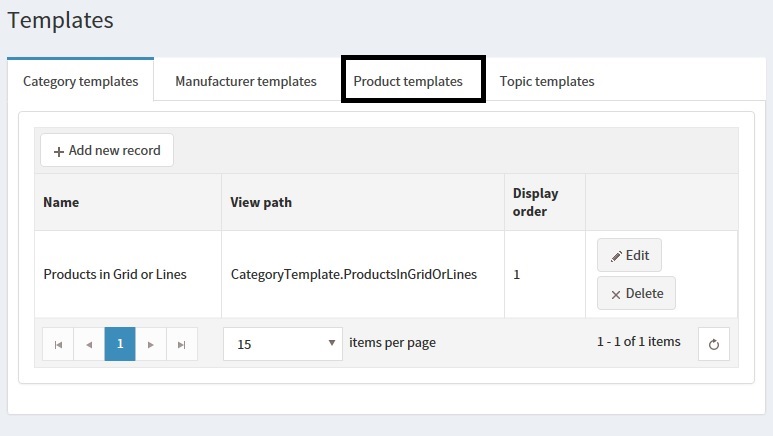
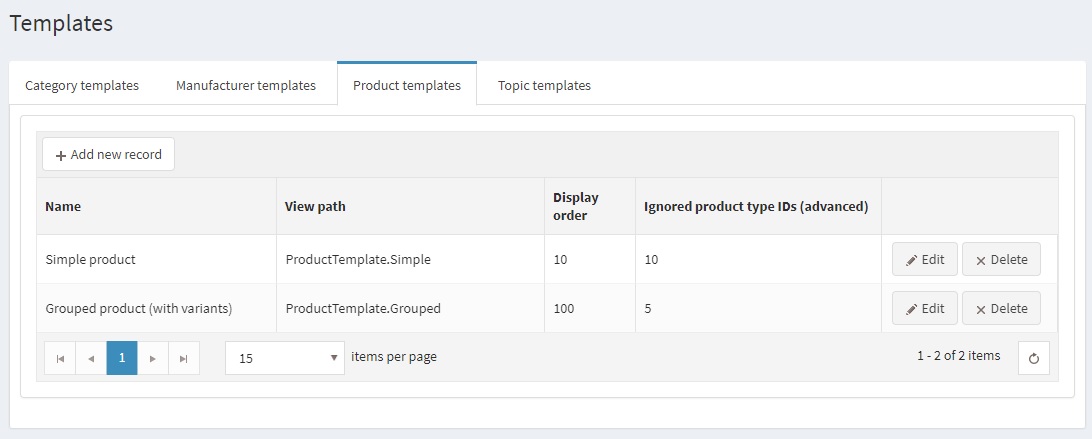
On the “Product templates” tab, you can see the two default product templates that comes with nopCommerce out of the box.
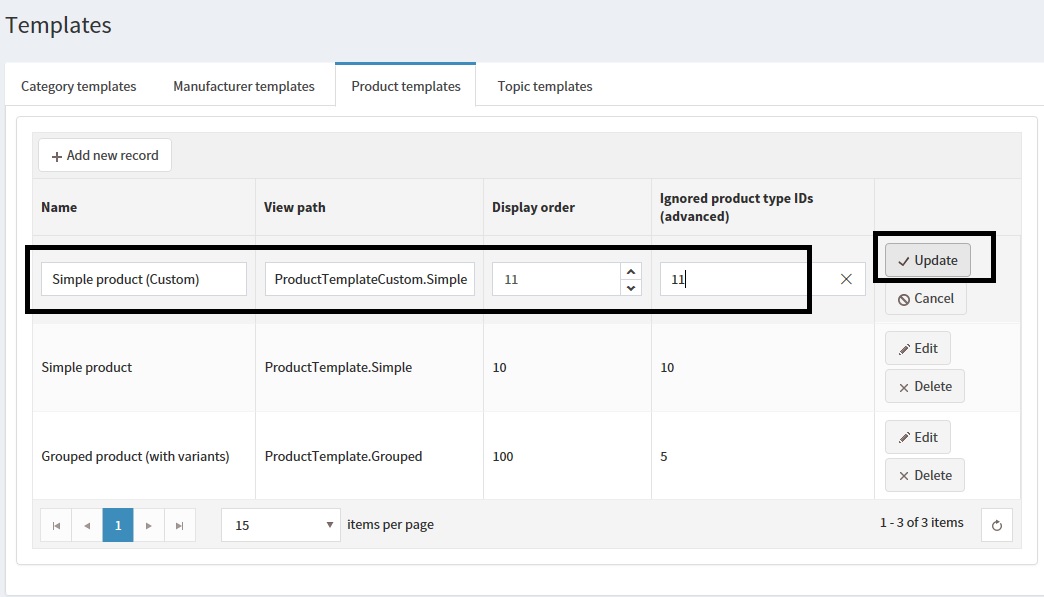
Remember: We have only added a new record for a custom product template, but we have not yet added an actual product template (i.e., view) for which we have provided the name.
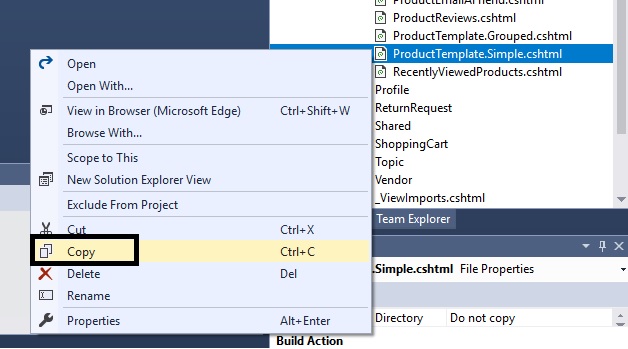
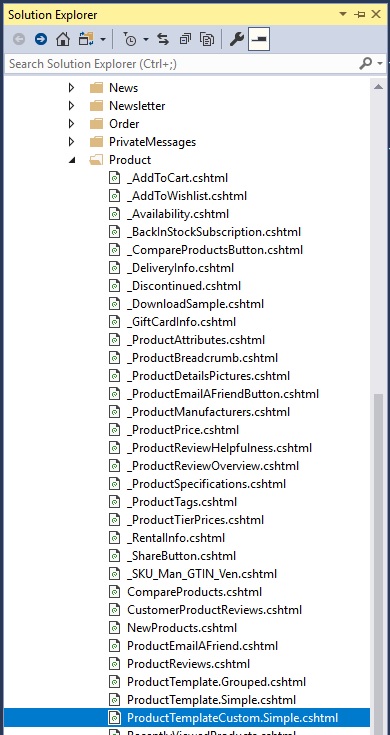
Now, we will add a new product template view using Visual Studio.
In order to make our new custom product template different from the default Simple product template, we can add styling to it.
Find this in “ProductTemplateCustom.Simple.cshtml”.
<div class=”product-name”>
<h1 itemprop=”name”>
@Model.Name
</h1>
</div>
Change the “product-name” div to this (below) by adding some styling.
<div class=”product-name” style=”background-color:lightgoldenrodyellow;border: 1px solid red; border-radius: 12px; padding:10px;”>
<h1 itemprop=”name”>
@Model.Name
</h1>
</div>
Now, we are ready for testing!
Let us pick any product on nopCommerce site like this:
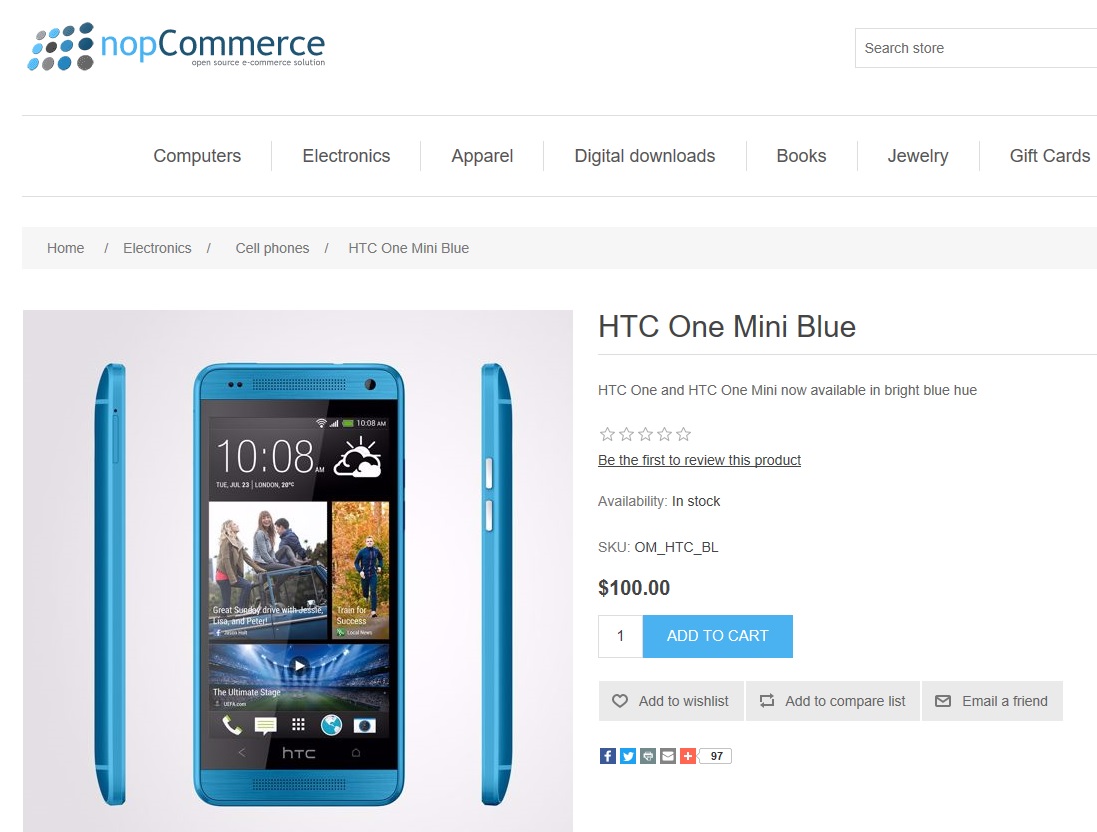
This product is currently using the default Simple product template.
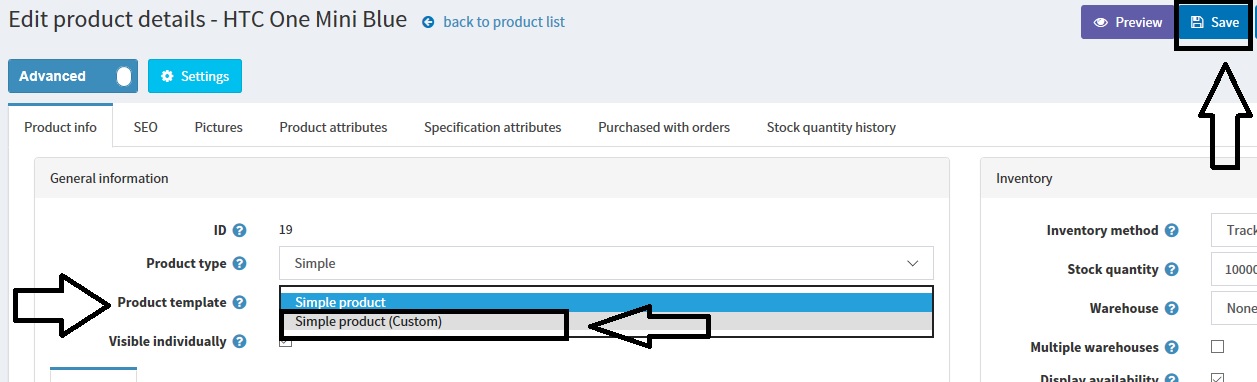
Now, change it by selecting the new custom template and SAVE.
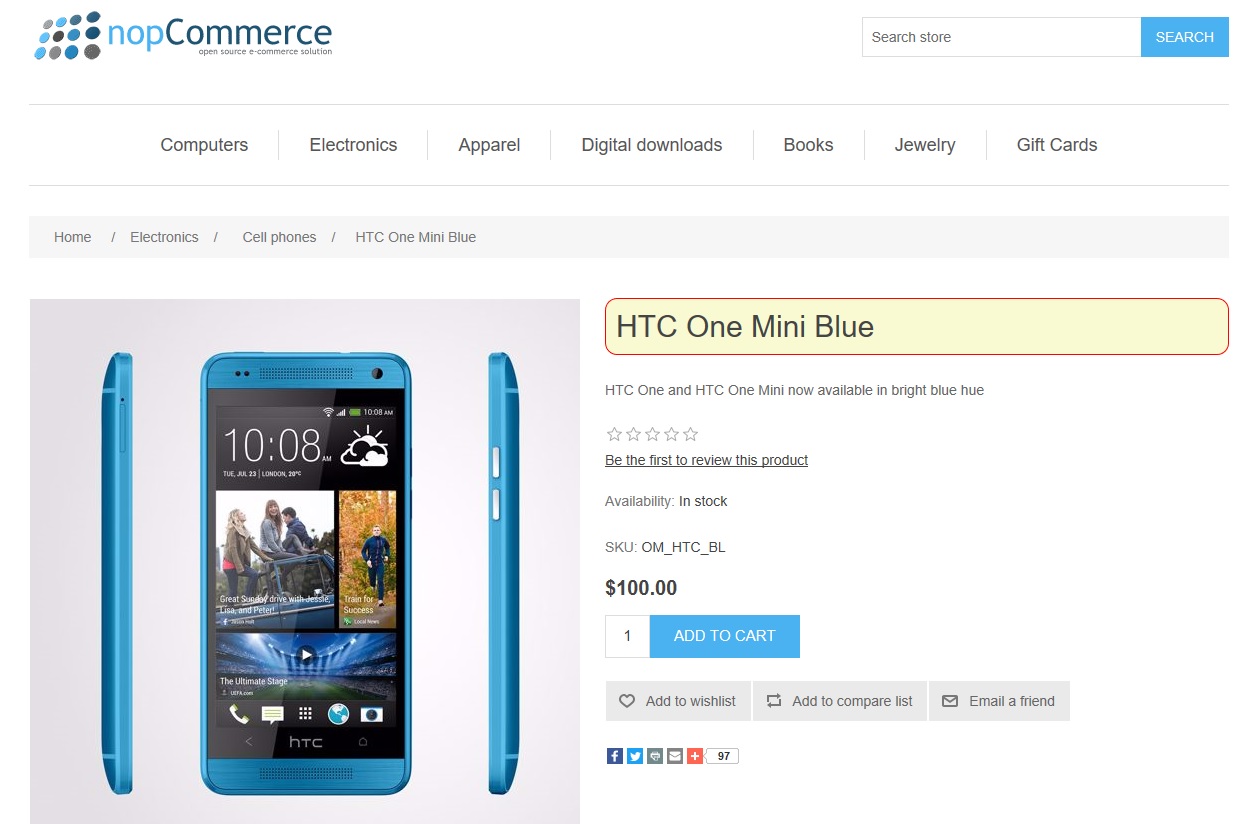
Let us refresh the product page on public store and we will see our new custom product template being used by the product:
I hope this helps you in customizing your online store.
Visit Everleap to learn more about our nopCommerce hosting solutions
About Guest Blogger: Lavish Kumar
Based out of New York, USA, Lavish Kumar is a full stack web developer by profession and founder of Striving Programmers, a resource of nopCommerce tutorials and a trusted community for developers that offers a wealth of articles and forums to assist individuals with improving their software development skills. He’s been a nopCommerce MVP for the past 8 years, winner of nopCommerce award and is passionate about nopCommerce, writing tech articles and building great web applications. Lavish is an active open-source contributor, author of the official nopCommerce designer’s guide and is often found on the nopCommerce forum assisting users to resolve problems. Lavish specializes in custom web applications, e-Commerce platforms, CMS implementation and CRM systems. Lavish’s technical experience also includes development of custom nopCommerce themes and plugins for a wide variety of users and his dedication to nopCommerce is evident in all of his projects.
No responses yet